How I fixed up a 72-year-old CCM dump-score bike
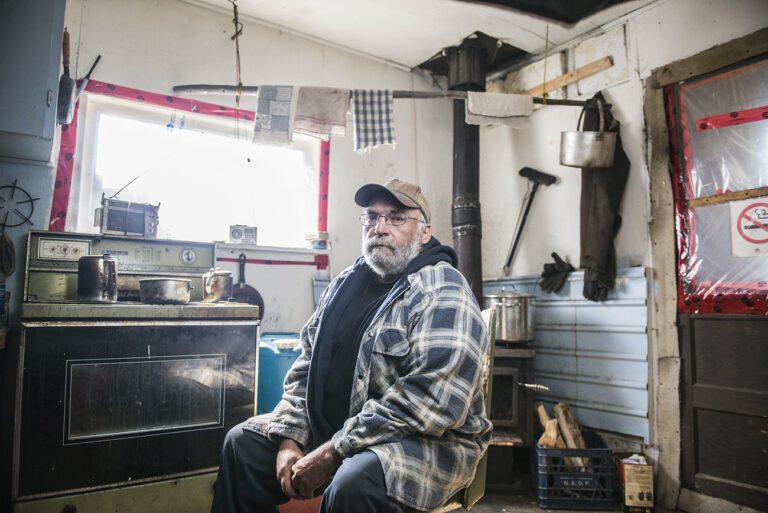
story and photos by Ryan McCord
Lots of folks in Yellowknife have great stories about the treasures they’ve found at the dump. When I first moved to town back in ‘03, I outfitted a whole apartment with salvaged housewares — couch, toaster, microwave, TV — the whole bit. One of my very first dump scores was a bike I still use regularly – my winter bike, or truck bike, as I like to call it for the big milk crate on the back. This story is about another bike, an older one, a fixer-upper at best, that I salvaged from the dump in 2010 and refurbished over a couple of months this past fall and winter.
My parents were up visiting for the second time, and I thought I’d better take them to the dump. After all, I’d raved about it over the years and consider it an important stop for tourists to Yellowknife. The pickings are not what they used to be, though, and we weren’t finding much salvageable stuff. But as we were just about to leave, my dad pointed out a couple of old bikes.
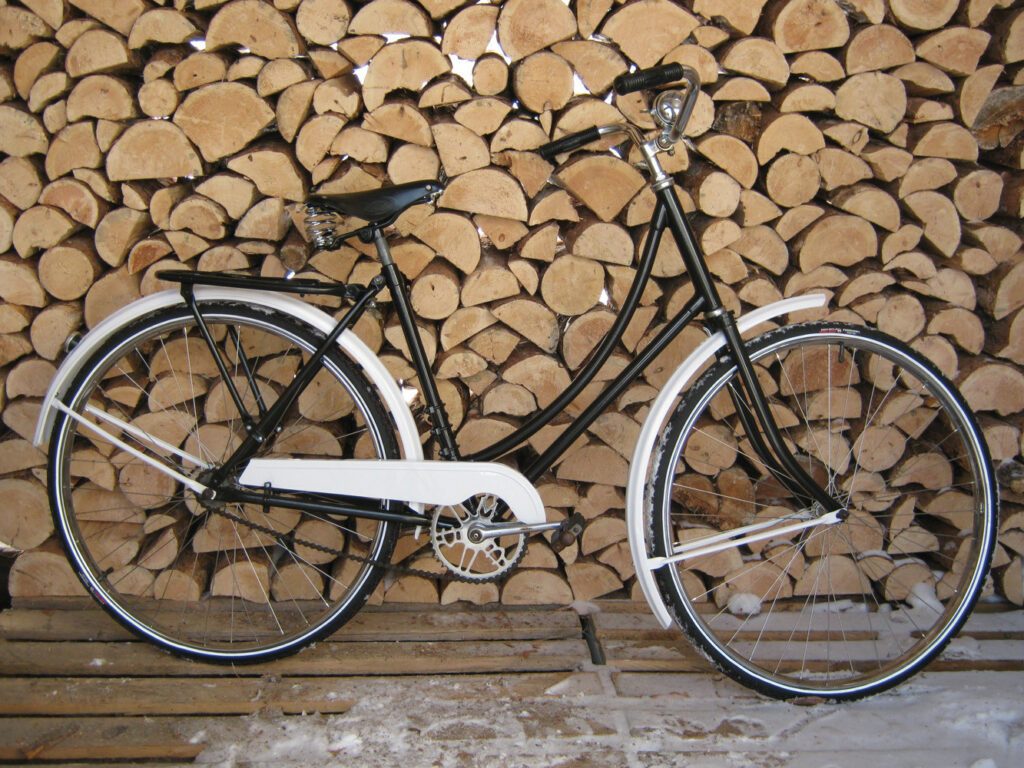
“Salvageable” is a subjective term, I guess, because these bikes were junk. With their paint flaking off and rust growing all over them, they were hardly bikes that I would normally bother to take home. Somehow, though, I saw beauty in one of them. Despite its rough condition, I thought that bringing it back to life might make a good project some time down the road. It was an old CCM women’s “Cleveland” model that I guessed was from the 1940s or ‘50s. During that era, the Canada Cycle and Motor Company, based in Weston, Ont., built bicycles intended to last, and this one seemed like a good example. The frame initially looked to be in good shape, as did lots of the other parts. I threw it in the truck, against my better judgement. In retrospect, I wonder how much it was just to show my parents that you can always find something at the dump.
The bike lived in my yard for the next year, buried in snow in the winter and collecting weeds in the summer. I didn’t think about it much, but I guess it stayed in the back of my mind. Finally, and tentatively at first, I decided to tackle restoring the bike.


I discovered right away that I wouldn’t be restoring it, technically, since I wouldn’t be bringing it back to its original condition. That would be hopeless since it had already been repainted from wine red to baby blue at some point, and some of the key components (the rims especially) were rusted far beyond repair. It turned out there was a break in the frame, which delayed me while I made arrangements with my neighbour, a skilled welder, to weld it back together. The stem was rusted in so badly that it took a month to get it out, and even at that I had to cut it, drill it, heat it, twist it, and, trust me, hammer it lots.
Some of the parts were structurally fine, but rusted, such as the handlebars. It would have been nice to keep the originals, but the goal was to make the bike look as nice as possible. I brought the handlebars to Edmonton in the fall, and tried to find a good match, but with no luck. (I did get a sweet bell, though, which doesn’t match the age of the bike but looks nice, and cost me nothing as the guy at the Bicycle Commuters shop was just happy to get rid of it). When I went to Vancouver a month later, I brought a full-scale tracing of the bars on paper, and checked a couple bike co-ops, before finally settling on a handlebar that was, well, close enough.
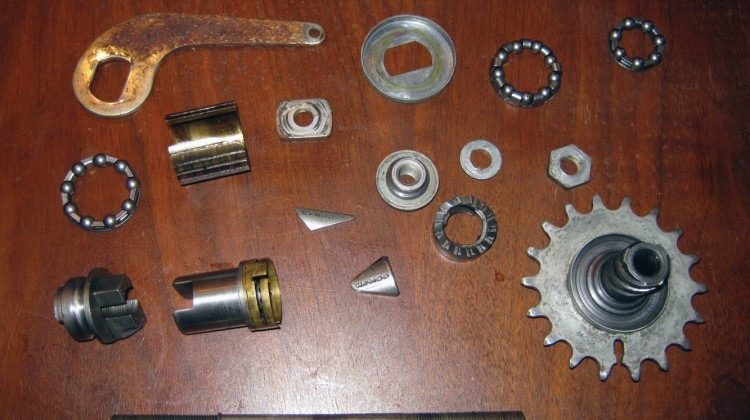
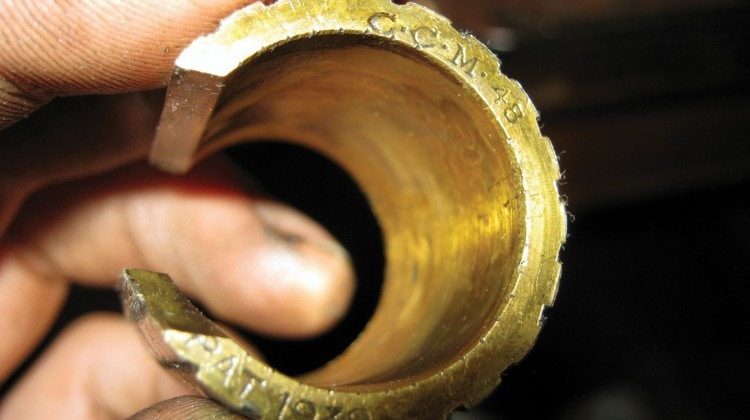
Other parts were in amazingly good shape. All the bearings were built to last and were easy to maintain over the years. Both front and rear hubs, as well as the bottom bracket, have little valves built into them for pouring oil in to keep things turning smoothly. The steel ball bearings themselves are much bigger than more modern ones, and add to the overall weight of the bike, which is Very Heavy. I spent a few evenings in the winter overhauling these functional parts, cleaning out the old grease and grime, and reassembling everything. When it came to the rear hub, a one-speed drive as well as the coaster (pedal) brake, it was a good thing I photographed the parts as they came out. I never would have gotten them back together otherwise.
The out-dated “Westwood” style rims were a bit of an adventure. Westwood rims are made of heavy rolled steel, and don’t have sidewalls like newer rims, so they aren’t compatible with the brakes on modern bikes. They are flatter and wider, and generally extremely durable, but these ones were rusted pretty badly. I didn’t expect to find a decent replacement, since I thought they were obsolete.
At first, I decided I would settle for any steel rim, thinking that aluminum would just look out of place on this old cruiser. Shopping for steel rims here in town, I was asked “why would you want that?” by sales people who are used to selling only the newest, lightest and most advanced bikes. It seemed hopeless at first, but in the end I was able to find a company called Babak that distributes actual Westwood rims in the right size. While back home in Peterborough at Christmas, I found a co-op shop called Bike, which dealt with Babak, who promised that if I gave them $40 cash (twenty bucks each and no tax since Bike doesn’t make much money), they would place the order in mid-January. Then, when the rims came in, their mechanic would take them to his other shop, from which he would be able to quote me a price and ship them to Yellowknife. Believe it or not this all worked out fine, and one evening later in the winter I re-laced the wheels with new spokes and rims, but the original hubs.
Throughout most of this time, I’d been painting the frame, fork, fenders, chainguard and rack. It was in the process of stripping off the old paint that I discovered the serial number on the frame — 1D0267. Magic Google allowed me to date the bike to 1940 based on that number. It was nice to nail down the actual age of the bike, which I’d only been able to guess at before.


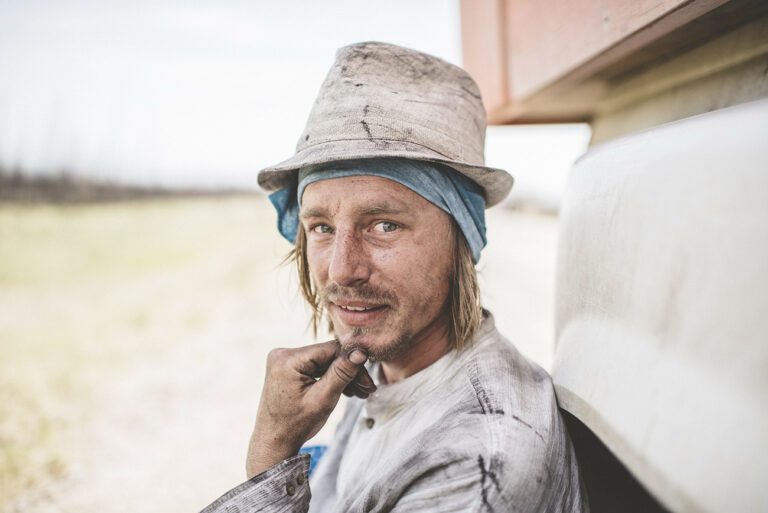
From left: 1. These old bikes were built to last. Oil can be poured into the bearings through the valve on the hub, which I’m sure helped to keep them in good shape over the years. 2. Safety first: this partially home-made gas mask actually worked pretty well. Yup, that’s my vacuum cleaner hose.
I got a couple coats of primer on some of the parts outdoors before the weather got too cold, but much of the painting was done in my bathroom, which I outfitted with a ventilation fan and lots of plastic sheeting. The ventilation was a little inadequate, so I always painted really fast, and then got out of the house for a while. Later on I put together a gas mask using a vacuum cleaner hose, a tin can, and some old inner tubes, but I don’t want to go into detail about that.
The last major step in fixing up the bike was completed around early February, when I rebuilt the wheels. Overall, this project was a good time along the way. I’d taken on a whole bunch of little challenges, forced myself to learn some new skills, taken an obsolete piece of junk out of the dump and made it both beautiful and functional again. I used Bondo to fix some holes and dents, discovered how finicky you have to be to get a decent paint job and learned a few examples of what not to do. All this bike needed was a loving home, and it’s got one now, after being sold to the highest bidder at the annual Ecology North silent auction. Can’t wait to see this old CCM enjoying its second round of life cruising the streets of Yellowknife.